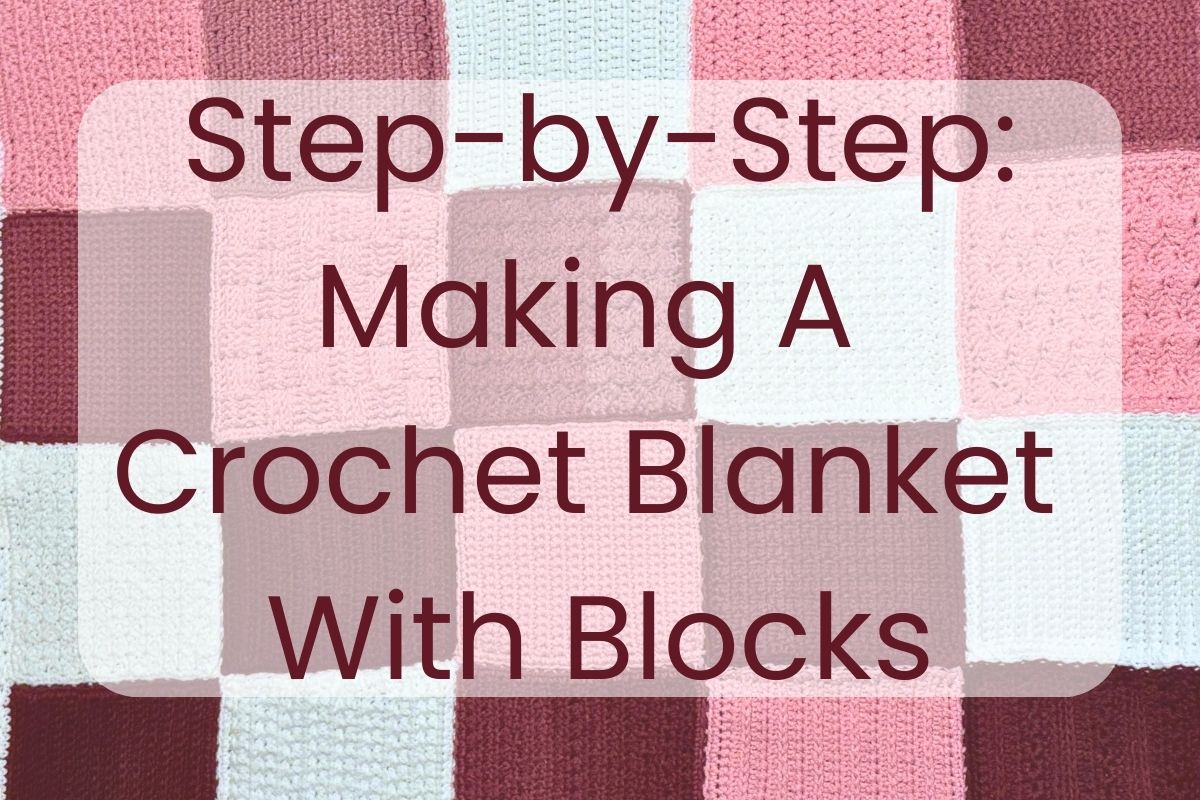
You’ve got your yarn, your crochet hook, and a whole lot of excitement—now it’s time to start making a crochet blanket with blocks! This is where the magic happens, and don’t worry, I’ll walk you through every step. Whether you’re aiming for a baby blanket or a full-sized snuggle masterpiece, following this guide will make the process easy and enjoyable.
Check out my first blog, “How to Crochet a Blanket: For Absolute Beginners,” to learn about the supplies you’ll need and the basics of crocheting this block blanket!
If you’re feeling a little nervous, that’s totally normal. The key is to take your time, relax, and enjoy the process. If you make some mistakes, don’t worry, read the section on Crochet: Troubleshooting Beginner Mistakes. Let’s get started!
Start with a Simple Foundation Chain
Every great crochet project starts with a foundation chain, and your blanket is no exception. This is the first row of stitches that determines the width of your block.
How to Make a Foundation Chain:
Make a slip knot and place it on your hook.
To start your foundation chain, yarn over (wrap the yarn around the hook from back to front).
Pull through the loop—congratulations, you just made your first chain stitch!
Repeat until you reach the desired width of your block. Some blocks will have different numbers of chain stitches, depending on the stitch you are using.
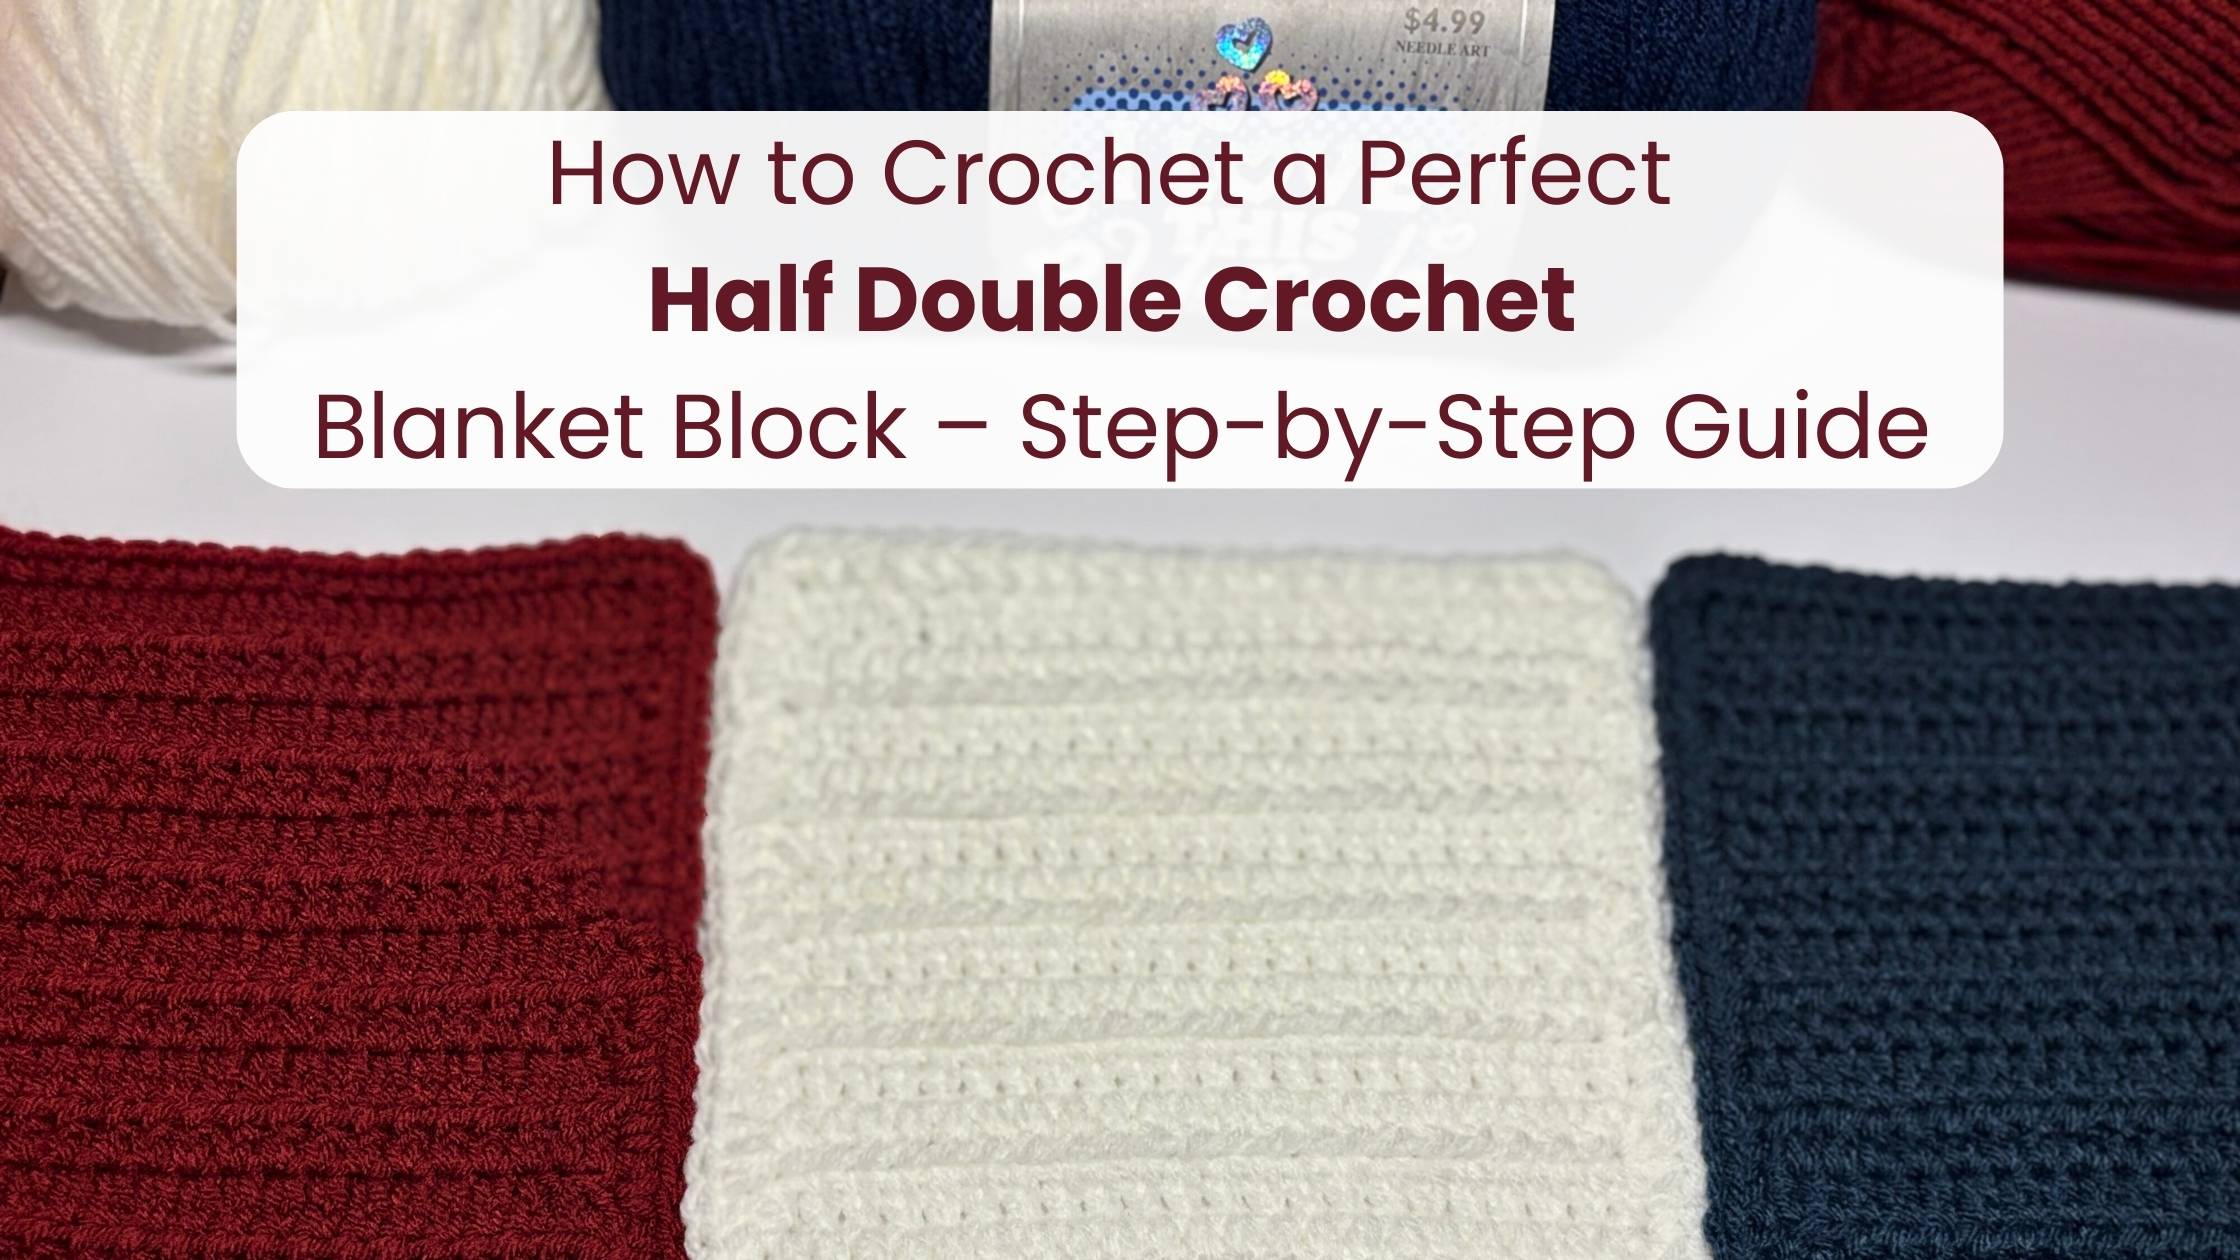
For the single crochet block, you will need about 25 chain stitches. After row 3, if your block is way too big or small, count the number of stitches that are closest to 6”. Start over and use that number as your stitch count.
More in depth instructions are on the next post: How to Crochet a Perfect Block with Single Crochet
How many chains do you need? It depends on your block size. For this tutorial, you will do a 6” block, but you will single crochet around each block, either one or two rounds, to make the overall size 7” when completed.
💡 Pro tip: Keep your chain loose and even—if it’s too tight, your edges will curl, making your blanket uneven. If your chain is too big at first, that’s okay. You will get better with practice.
Work Your First Row of Stitches
Now that you’ve got your foundation chain, it’s time to start building your block. The first row is the trickiest part, but once you get past it, everything becomes easier.
How to Work the First Row (Using Single Crochet):
- Insert your hook into the second chain from the hook.
- Yarn over and pull up a loop (you should have two loops on your hook).
- Yarn over again and pull through both loops.
- You just made a single crochet stitch!
- Keep going, making one single crochet in each chain until you reach the end of the row.
- Count your stitches! Make sure you have the correct number before you move on to the next row.
- Count your row! Use a tally counter to keep track of how many rows you have.
At the end of the row, you’ll need to turn your work so you can crochet back across. To do this, chain one (for single crochet) or chain two (for half-double crochet), then flip your block around and start the next row!
💡 Pro tip: Count your stitches at the end of each row. If you accidentally add or lose stitches, your block edges will look lopsided.
Keep Crocheting Until Your Block is the Right Size
Once you’ve completed a few rows, you’ll start seeing your block take shape—exciting, right? Now, it’s all about repetition. Keep adding row after row using your chosen stitch (single crochet, half-double crochet, or whatever you like) until your block reaches the height you want.
How many rows should you do? Here’s a general guide:
• Each Stitch is different: the single crochet block will be approximately 28 rows.
• Measure as you go: Around 28 rows of single crochet should be approximately 6”. If you have more or less its okay, just try to keep it as close to 6” as possible.
For more in depth instructions are on the next post: How to Crochet a Perfect Block with Single Crochet
Feel free to mix things up! If you are more advanced, you can add stripes by changing yarn colors, or even try switching stitches every few rows for a unique texture. If you want a perfectly even block, make sure you’re keeping your stitches consistent and counting each row. Measure your rows until it is 6” tall.
💡 Pro tip: Take breaks! Crocheting a blanket takes time, and your hands will thank you if you stretch and rest every so often.
Crochet Around the Block
Now that you have a block that is approximately 6” by 6”, finish it off by single crocheting around the block. This will give it a finished look and make it easier to sew the blocks together.
Instructions to finish the block:
• Continuing from your last row, chain 1.
• Turn your block and single crochet down the side of the block. (try to get about 26-28 stitches on each side, for all blocks).
• Single crochet three in the corners and single crochet around the whole block.
• Measure to see if you are close to 7”. If not, single crochet another round.
• When you have completed your round(s), fasten off and weave in your tails.

Putting the Blocks Together
After you have a few blocks finished, you can start putting them together. Some people wait until they have all the blocks completed, but I like to see how it is going to look when they are together.
Using a yarn needle, you will “sew” the blocks together.
Click here for a full tutorial: How To Sew Blocks Together on a Crochet Blanket.
- To sew two blocks together, lay the front of two blocks together.
- Put a length of yarn about twice as long as one block on the needle.
- Insert the needle into the back loops of the first single crochet of each block.
- Pull the yarn, leaving about a four-inch tail. Insert the hook into the back loop of the next single crochet (beside of where you just pulled through from the previous stitch), and into the back loop of the single crochet across from it.
- Continue until you have reached the length of the block.
Open the blocks and look how beautiful you blocks are together.
When you have four in a square, tuck the tails by weaving them into your work.
Add a Border and Finish Off
Once your blocks are completed and you have all of them sewn together, it’s time for the finishing touches! Adding a simple border will give it a polished, professional look while also helping to even out any uneven edges.
How to Add a Simple Single Crochet Border:
- Start at any corner and attach your yarn.
- Work one single crochet in each stitch along the edge.
- When you reach a corner, make three single crochet stitches in the same spot—this helps turn the corner smoothly.
- Continue crocheting around the entire blanket until you reach the starting point.
- Slip stitch to join, then fasten off.
Finally, weave in your yarn ends using a yarn needle to secure them. This keeps everything neat and prevents unraveling later.
If you want something a little fancier, try a shell stitch or picot edge for a decorative border! Subscribe to my Newsletter and you will know when I have added new stitches to learn.
💡 Pro tip: Give your finished blanket a gentle stretch and shake to help even out the stitches before using it.
Your Masterpiece is Complete! Enjoy Your Crochet Blanket With Blocks
With your blocks completed and stitched together, your crochet blanket is ready to enjoy! Adding a final border not only gives it a polished look but also helps even out any slight size differences between blocks.
Whether you opt for a simple single crochet edge or a decorative stitch, this last step brings everything together beautifully.
Don’t forget to weave in your yarn ends to secure your hard work. Now, step back and admire your handmade masterpiece—your cozy, personalized crochet blanket is ready to be used and loved!
Did you find this tutorial easy to follow? Let me know in the comments below.

2 thoughts on “Step-by-Step: Making A Crochet Blanket With Blocks”
Comments are closed.