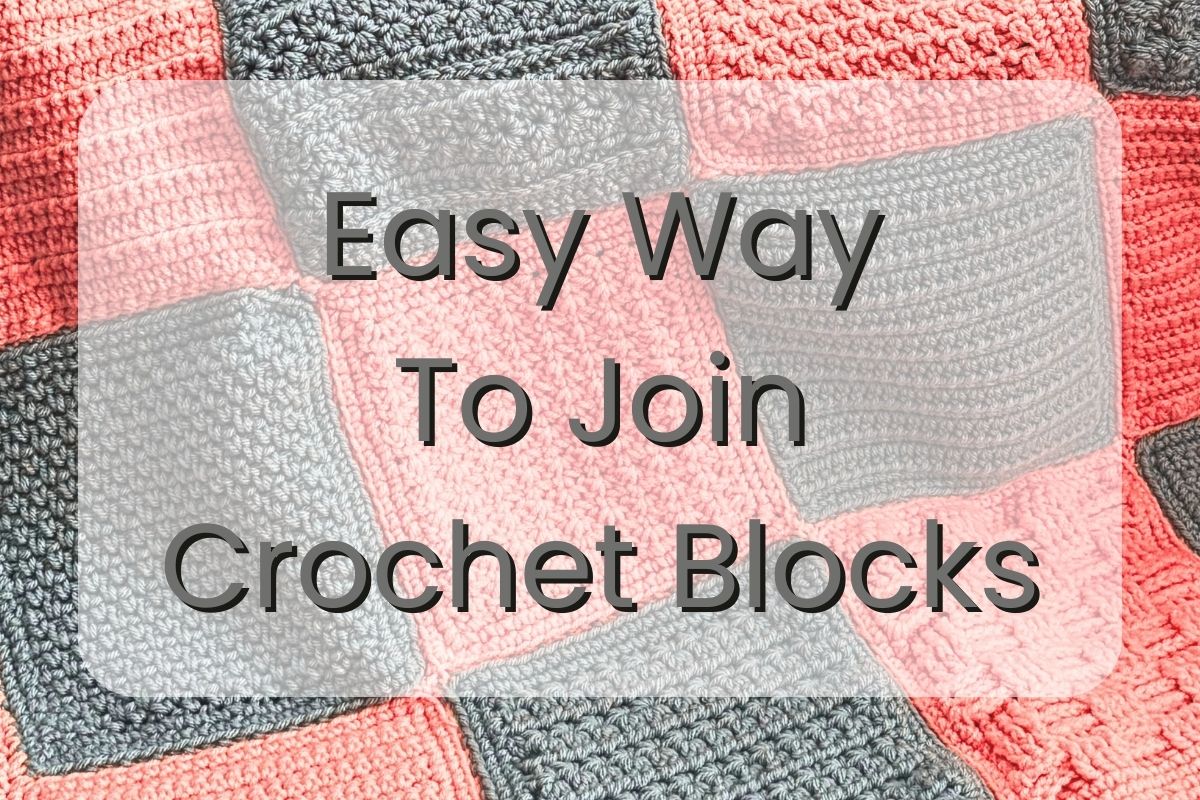
Crocheting individual blocks is a great way to build a blanket or other projects, but knowing how to sew them together properly is just as important. A well-joined project looks polished, stays strong over time, and highlights all your hard work. Whether you’re creating a cozy patchwork blanket or assembling granny squares, this guide will walk you through the best way to join crochet blocks together neatly and securely.
Preparing Your Blocks for Sewing
Before you start joining your crochet blocks, make sure they are uniform in size. If one block is larger than another, your project might not lay flat or have straight edges. Here’s what to do:
- Measure each block to ensure consistency. If needed, block your pieces by pinning them to a flat surface and lightly spritz them with water.
- Choose the right yarn for sewing—preferably the same yarn used in the project for a seamless look.
Taking time to prep your blocks will make the joining process much easier and give you a more professional-looking finish.

Laying Out and Aligning Your Blocks
Now that your blocks are ready, it’s time to arrange them. Lay them out in the order you want to join them, checking for color balance and symmetry.
- Lay two blocks together with their front sides facing—this ensures that the seam will be hidden on the back.
- Align the stitches carefully, making sure that each row or column matches up as closely as possible.
- Decide on your joining method—in this tutorial, we’ll use a simple whipstitch through the back loops for a nearly invisible seam.
Once everything looks right, you’re ready to start sewing!


Join Crochet Blocks Together: Step by Step
Follow these simple steps to create a strong yet flexible seam:
- Cut a piece of yarn about twice the length of your block and thread it onto a yarn needle.
- Start at one corner by inserting the needle into the back loops of the first single crochet stitch on both blocks.
- Pull the yarn through while leaving a 4-inch tail at the beginning. You’ll weave this in later.
- Work across the edge by inserting the needle into the back loop of the next stitch on each block. Continue until you reach the end.
- Tighten the stitches gently but avoid pulling too tight, as this can cause puckering.
- Finish off by cutting the yarn tail about 4 inches. You will weave these in later.
Once completed, flip your blocks open to admire the nearly invisible seam.
Tucking in Tails and Securing the Join
After sewing, it’s essential to secure your work and make sure everything stays in place:
- Weave in the yarn tails using a yarn needle, guiding them through the stitches on the back of your work. Going in back and forth will help secure them.
- Trim any excess yarn but be sure not to cut too close to avoid unraveling.
- Gently stretch the seam to ensure it’s flexible and sits evenly with the rest of the block.
If you’re joining multiple blocks, repeat this process until all blocks are connected.

Conclusion: Join Crochet Blocks to Create A Beautiful Blanket
Joining crochet blocks together may seem like a small step, but it plays a huge role in the final look and durability of your project. By carefully preparing your blocks, aligning them properly, and using a strong joining technique, you’ll create a seamless and sturdy masterpiece.
Now that you know how to join crochet blocks like a pro, your next crochet project will be even more rewarding. Whether it’s a stunning blanket, a decorative pillow, or a colorful patchwork scarf, your carefully joined blocks will make your handmade creation stand out!
Happy crocheting! 🧶✨
Join crochet blocks on this easy pattern: How to Crochet a Blanket: For Absolute Beginners