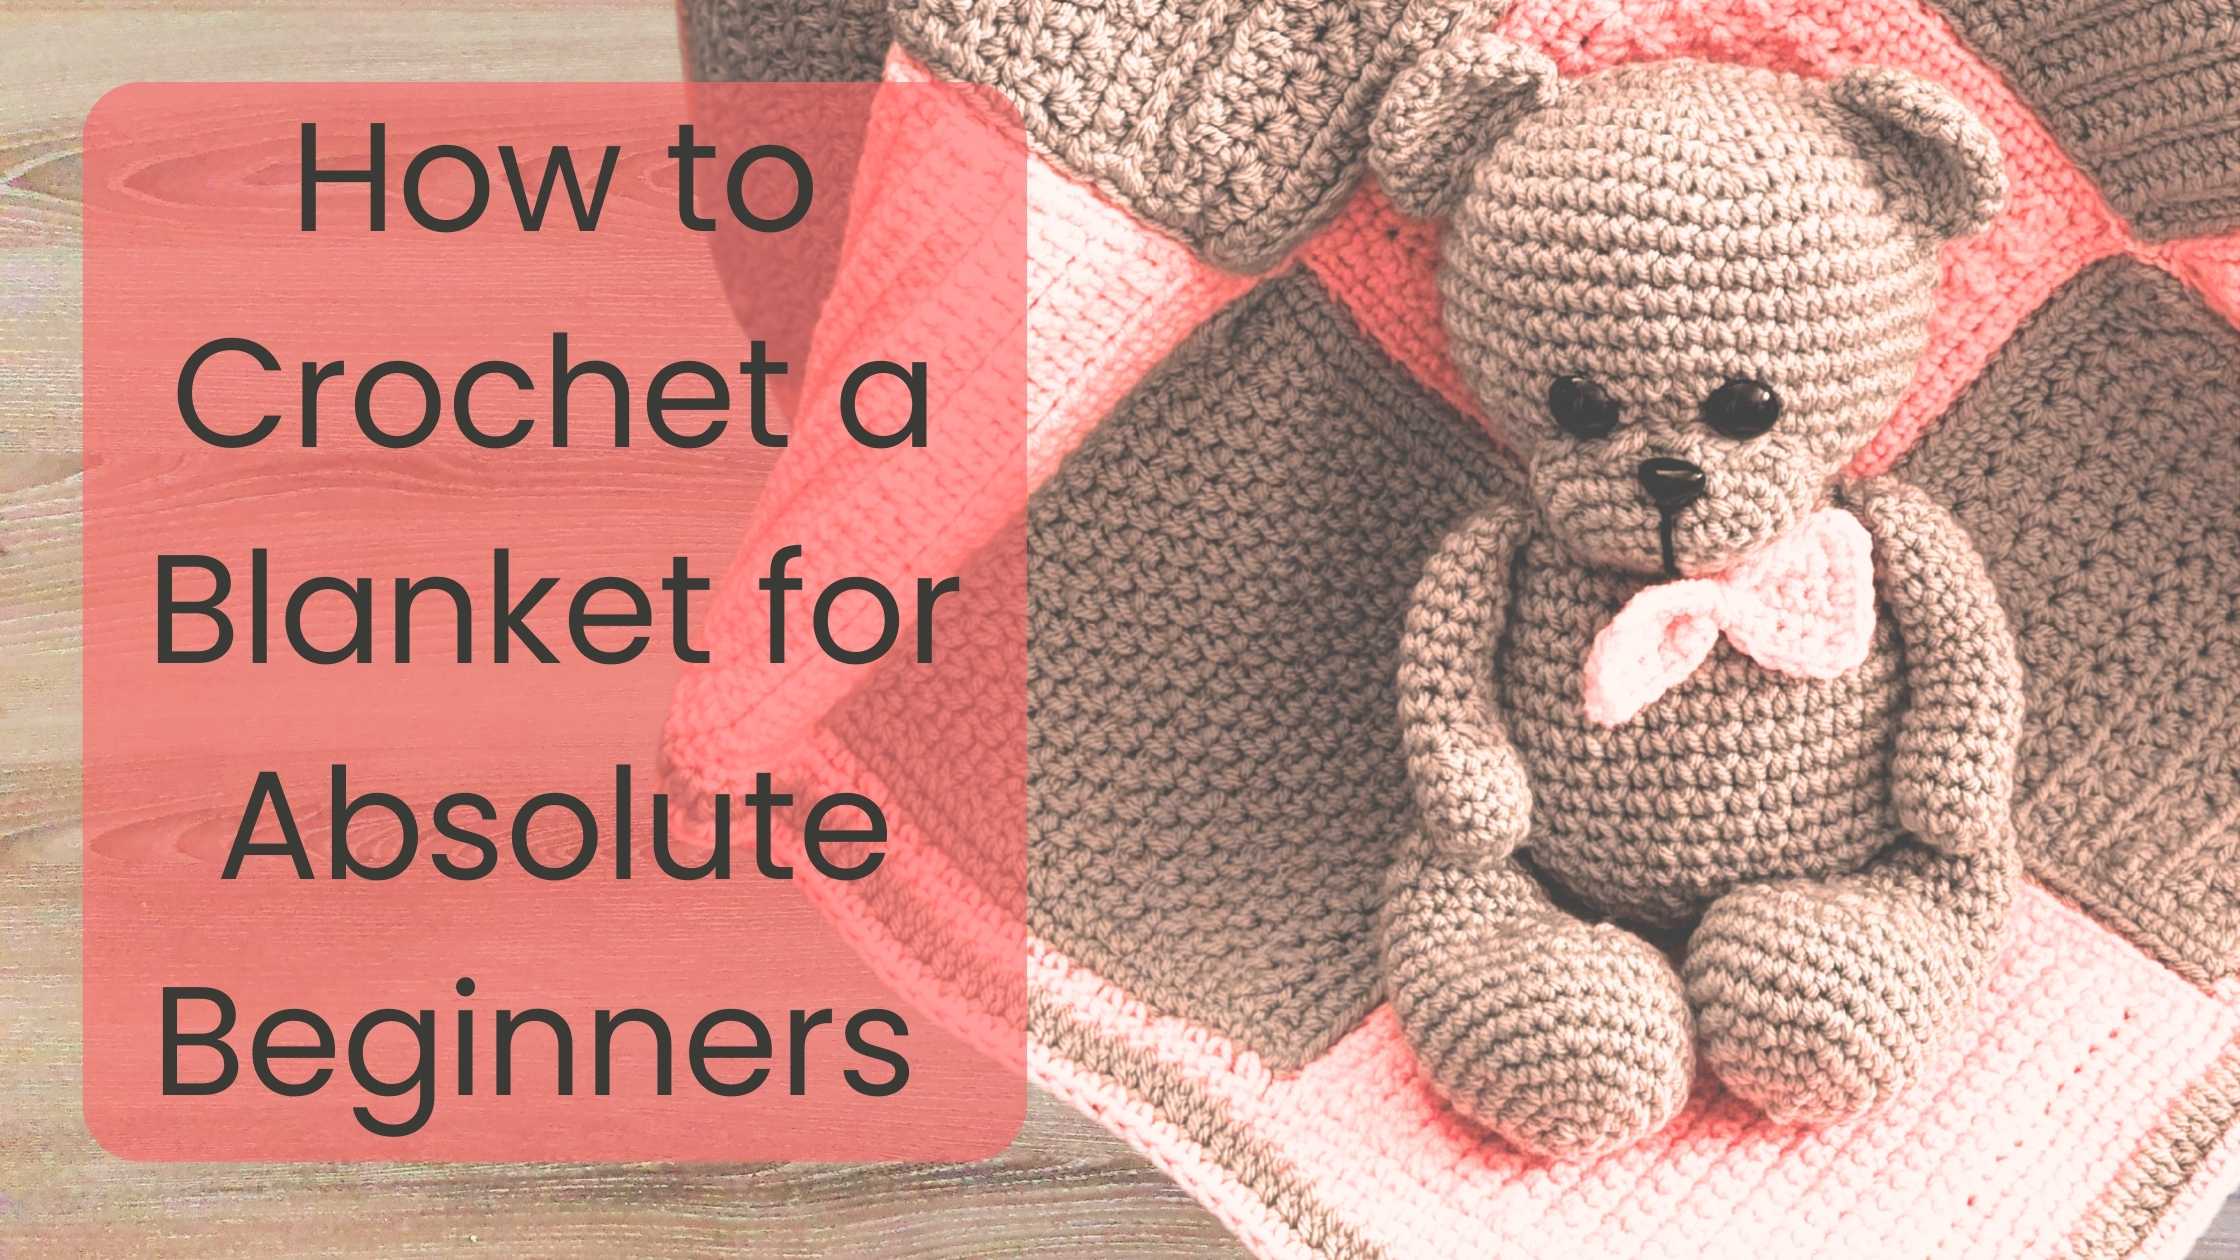
Crochet a blanket for absolute beginners with this simple, fun guide that even experienced crocheters will enjoy. Whether you’re crocheting your very first project or looking to try a new stitch, this block-by-block blanket is the perfect way to practice. It’s completely customizable, allowing you to create a blanket with as few as nine blocks or as many as you need to reach your preferred size. You can also choose which stitches to include and leave out the ones you don’t like. I’m excited to get started, and I hope you are too!
Supplies You Need to Get Started
Whether you’re aiming for a cozy throw or a giant, snuggly masterpiece, the right supplies make all the difference. The good news? You don’t need a mountain of fancy tools. A few basic supplies are enough to get you stitching in no time. Let’s break down what you’ll need before you dive into your first crochet project!
TIP: IF YOU ARE MORE ADVANCED, SKIP TO Step-by-step: Making a Crochet Blanket With Blocks

The Right Yarn: Soft and Easy to Work With
First things first—yarn is the star of the show. But with endless options, how do you choose? As a beginner, you’ll want to pick a yarn that’s easy to handle, not too thin or too thick. Look for a worsted weight yarn (also called Medium #4) because it’s smooth, soft, and works up at a comfortable speed.
Acrylic yarn is a budget-friendly and beginner-approved option that doesn’t split easily and holds its shape well. Cotton yarn is great if you prefer a natural fiber, but it can be a little less stretchy. Wool is warm and soft, but some people find it scratchy. If you’re unsure, go for a gentle, machine-washable acrylic yarn.
When it comes to choosing yarn for your blanket project, I have a few favorites that I always go back to!

My Picks
First up, I Love This Yarn from Hobby Lobby is hands down my absolute favorite. It’s incredibly soft, easy to work with, and, as the name suggests, I fell in love with it the first time I tried it. Hobby Lobby has a fantastic selection of colors in this yarn.
Another great option is Premier Just Yarn. It’s soft, affordable, and super beginner-friendly, plus it comes in some beautiful colors—my local Dollar Tree has a great selection of them.
Walmart’s Mainstays yarn is another budget-friendly choice that’s easy to work with. The only downside is that it typically only offers primary colors. If you’re looking for something other than the basic colors, you’ll need other options.
Lastly, Red Heart yarn is a well-known, economical option. While it’s a good yarn overall, it’s not as soft as the others, and it can snag a bit more, but it makes up for that with a huge variety of colors to choose from.
Each of these yarns has its pros and cons, so choose one that works best for your preferences and budget as you crochet your blanket!
Search Hobby Lobby for new yarn HERE!
Pro tip: Stick with light colors like beige, baby blue, or soft gray. Dark yarns make it tough to see your stitches, which can turn learning into a frustrating game of “Where did that loop go?”

A Hook That Feels Just Right
A crochet hook is your magic wand, and choosing the right one makes learning way easier. For a beginner blanket, a size I/9 (5.5mm) or J/10 (6mm) hook is ideal. These sizes work perfectly with worsted weight yarn and give your stitches a nice, even look.
When shopping for a hook, you’ll notice different materials: aluminum, plastic, bamboo, and ergonomic handles. Aluminum hooks are smooth and let the yarn glide easily, making them a great choice for beginners. Ergonomic hooks have a soft grip that helps prevent hand fatigue—perfect if you plan to crochet for hours (which you will, because it’s addictive).
Scissors: Snip with Ease
You don’t need anything fancy, but a small, sharp pair of scissors will make cutting yarn much easier. Dull scissors can fray the ends and make weaving them in a headache. A thread cutter or yarn snippers are great alternatives if you want something compact.
A Yarn Needle for the Finishing Touches
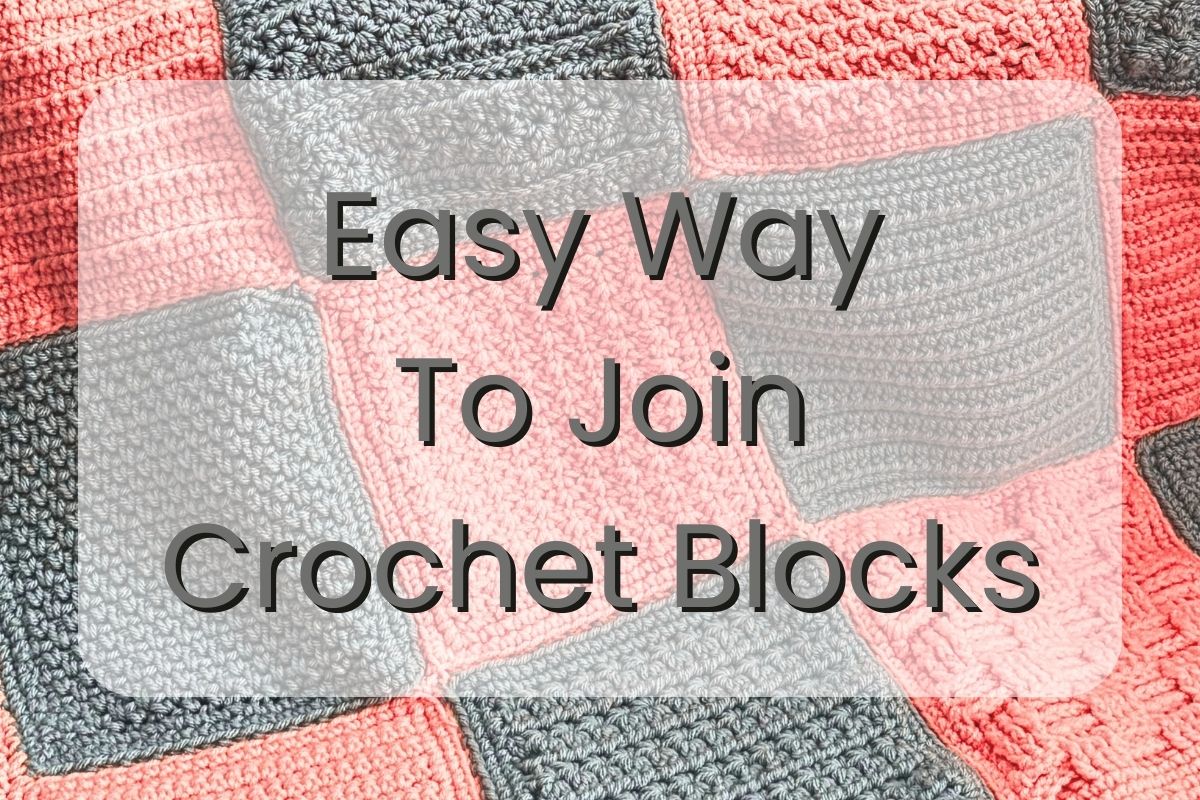
Once your blocks are finished, you’ll need to weave in your yarn ends to give it a clean and polished look. That’s where a yarn needle (also called a tapestry needle) comes in handy. You will also need this when you are ready to sew your blocks together.
These needles have a large eye, making it easy to thread yarn through and tuck in those pesky loose ends. Look for a metal or plastic needle with a blunt tip—it won’t split the yarn while weaving.
Stitch Markers (Or DIY Alternatives!)
Stitch markers are optional but super helpful, especially when crocheting large projects like blankets. They help you keep track of stitch counts and pattern repeats so you don’t accidentally add or lose stitches. You can buy plastic stitch markers, but safety pins, bobby pins, or even scraps of yarn work just as well!
Measuring Tape: Size Matters!
When crocheting a blanket, you’ll want to keep an eye on the size to make sure it turns out just right. A soft measuring tape lets you check the width and length as you go. Some blankets stretch a little while crocheting, so it’s always good to measure before you get too far in!
A Notebook (Or Your Phone) for Notes
You might think, “I’ll remember my stitch count!” But trust me, once you get into a crochet groove, numbers start to blur. A simple notebook or even your phone’s notes app helps you track rows, pattern details, and color changes. If you ever need to take a break (or pause for a snack), you’ll know exactly where you left off.
An Easy Row Counter
A handheld tally counter is an essential tool when crocheting, especially for beginners, to keep track of how many rows you’ve completed. Crocheting can be a repetitive process, and it’s easy to lose count, particularly when you’re working on a large project like a blanket. Having a tally counter allows you to stay organized and focused on your work, ensuring you don’t accidentally repeat or skip rows.
Instead of relying on memory or scribbling down notes, you can simply click the counter each time you finish a row, which eliminates the chance of losing track. This helps maintain a consistent pattern and ensures your project stays even. Plus, if you need to take breaks or pick up your project after a while, the tally counter lets you jump right back in without the stress of trying to figure out where you left off. It’s a small tool that makes a big difference in keeping your crochet work smooth and on track!
Check out this great set at Amazon that includes some of the essentials you will need. CLICK HERE!
Ready to Get Started? You’re All Set!
That’s it—you officially have everything you need to start crocheting your first blanket! With your yarn, hook, scissors, needle, and a few extras, you’re ready to create something cozy and handmade. Grab your supplies, pick a comfy spot, and get ready to stitch your way to a warm, snuggly masterpiece.
TIP: IF YOU ARE MORE ADVANCED, SKIP TO: Step-by-Step: Making A Crochet Blanket With Blocks
Mastering the Basic Crochet Stitches
You’re ready to start crocheting your blanket—how exciting! But before you jump in, it’s important to learn a few basic stitches. Don’t worry—they’re simpler than they seem and will soon feel natural. The great thing about crocheting blocks is that they give you plenty of practice. You can take your time mastering each stitch before moving on to the next, and mistakes are easier to fix.
Learn how to fix Common Crochet Mistakes: Crochet: Troubleshooting Beginner Mistakes
Now, let’s go over the essential stitches every beginner should know to crochet a blanket for absolute beginners and how to perfect them!
How To Hold A Crochet Hook, with video
The Foundation: How to Make a Slip Knot and Chain Stitch
Before you can start crocheting, you need to make a slip knot—this is how you attach the yarn to your hook. This can take some practice, but you will get it.
Making a slip knot is the first step in most crochet projects. It creates an adjustable loop that you can easily tighten around your crochet hook. Here’s how to make a slip knot:
How To Make a Slip Knot
Step 1: Create a Loop
- Hold the yarn with the tail end in your left hand and the working yarn (the yarn attached to the skein) in your right hand.
- Make a small loop by crossing the tail end of the yarn over the working yarn, forming an “X.”
Step 2: Pull the Yarn Through
- Insert your fingers or hook through the loop.
- Grab the working yarn (the strand attached to the skein) and pull it through the loop.
Step 3: Tighten the Knot
- Gently pull both the tail and the working yarn to tighten the knot slightly.
- Place the loop onto your crochet hook and pull the working yarn to adjust the size, making sure it’s snug but not too tight.
How to Make A Chain Stitch
The chain stitch (ch), which is the foundation of almost every crochet project. This stitch is what creates the starting row of your blanket. To make a chain stitch:
- Yarn over (wrap the yarn over your hook from back to front).
- Pull the yarn through the loop on your hook.
- Repeat until you have the number of chains needed for your block width.
The key to a good chain? Keep your tension even! If your stitches are too tight, your blanket will be stiff. Too loose, and it’ll look messy. Practice makes perfect, so don’t stress if your first few chains look a little wonky.
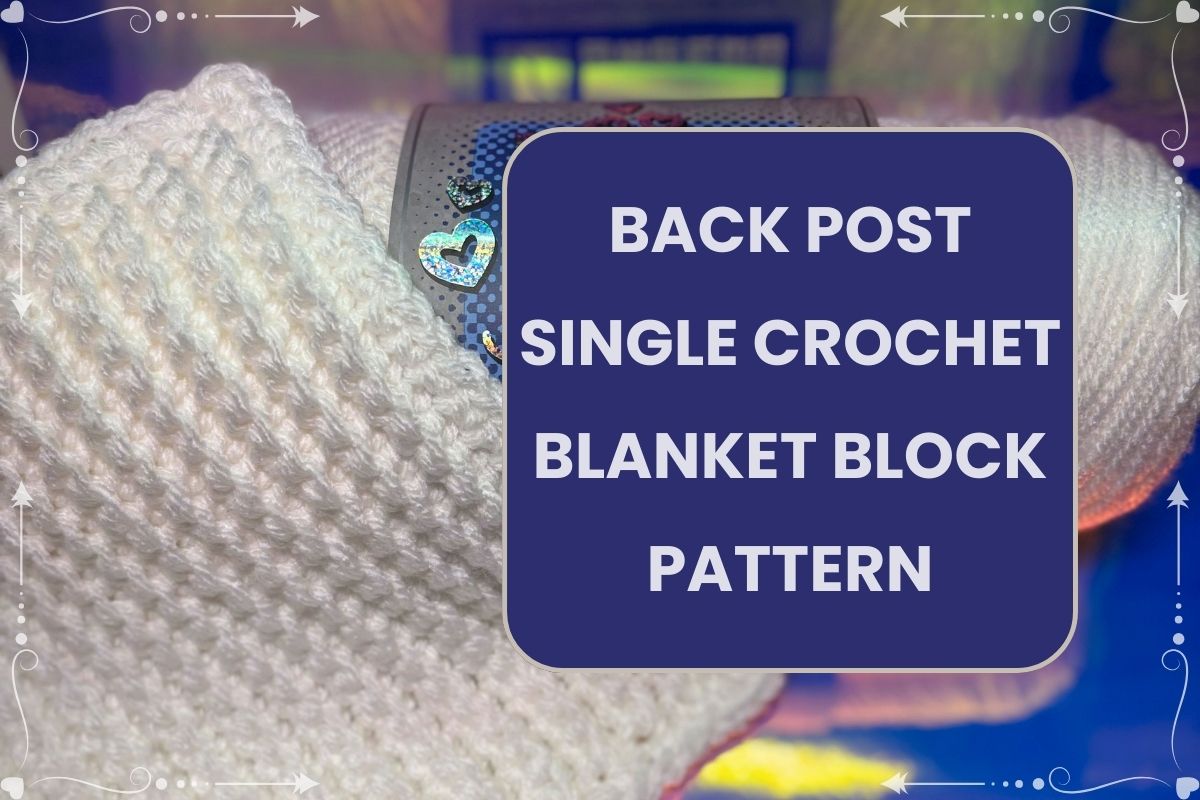
The Building Blocks: Single and Half-Double Crochet
Now that you have your chain ready, it’s time to build your blanket with simple stitches. The single crochet (sc) is one of the easiest stitches to learn, and it creates a nice, tight fabric—perfect for beginners who want a sturdy, warm blanket. This will be your first block, so you are going to get plenty of practice.

How to Make a Single Crochet (sc):
- Insert your hook into the second chain from the hook.
- Yarn over and pull up a loop (you should have two loops on your hook).
- Yarn over again and pull through both loops.
- Repeat across the row. (see “How to Crochet a Perfect Block with Single Crochet” for video and further instructions).
See? Not bad at all! The single crochet is perfect for a beginner’s blanket because it keeps things simple and gives your fabric a neat, uniform look.
Video on How To Single Crochet

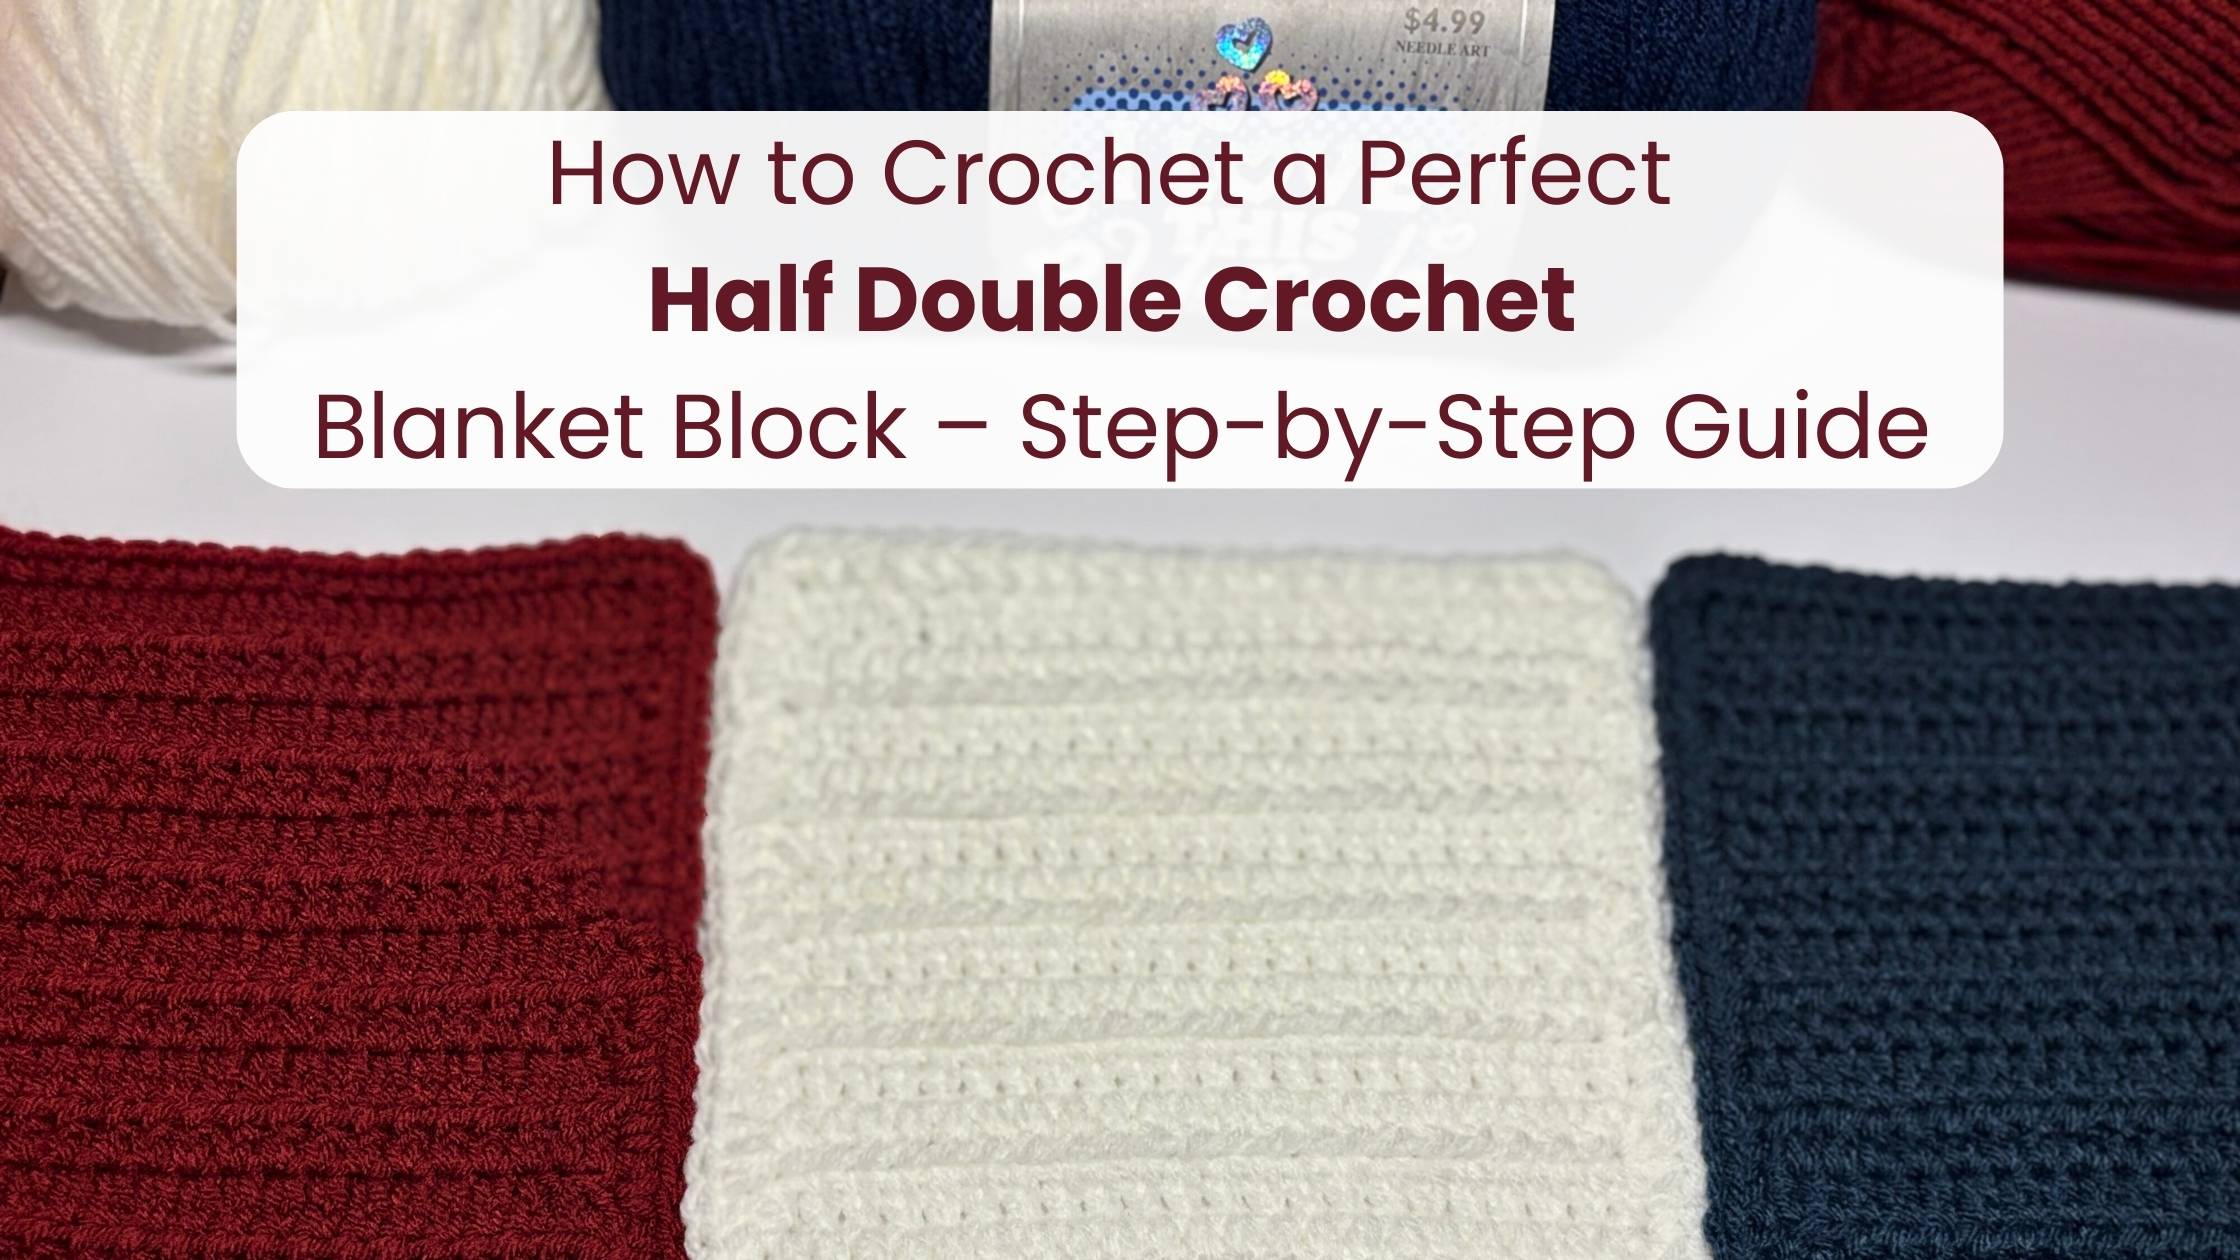
If you want something a little taller and stretchier, try the half-double crochet (hdc). This stitch works up faster than the single crochet but still gives your blanket a cozy texture.
How to Make a Half-Double Crochet (hdc):
- Yarn over before inserting your hook into the next stitch.
- Pull up a loop (you should have three loops on your hook).
- Yarn over again and pull through all three loops.
Keep going across the row for a soft and fluffy effect! (See How to Crochet a Perfect Half Double Crochet Blanket Block – Step-by-Step Guide for video and further instructions).
Video on how to Half-Double Crochet (hdc)
Both of these stitches are great choices for your first blanket. They’re easy to learn, beginner-friendly, and create a soft, snuggly fabric. You can make your entire blanket with just one stitch, combine both, or explore even more stitches as you go!
Putting It All Together: Which Stitch Should You Use?
Now that you’ve got the basics down, you might be wondering: Which stitch is best for my first blanket? Here’s a quick rundown:
• Single Crochet (Sc): Great for thick, dense, and warm blankets.
• Half-Double Crochet (Hdc): A little softer and stretchier, works up faster.
If you’re still unsure, try making a block with each stitch and see which one you like best. Remember, there’s no wrong choice—your blanket should match your style and comfort preferences! I prefer to mix it up and use multiple stitches.
Follow my blog and I will show you how to learn more stitches and incorporate them into your blanket.
You’ve Got This!
Now you can crochet a blanket for absolute beginners. Mastering these basic stitches is the first step toward crocheting a beautiful, cozy blanket. It may take a little practice, but before you know it, you’ll be stitching away like a pro. Keep your tension even, take your time, and enjoy the process—after all, crochet is meant to be relaxing!
Now, grab your hook, some yarn, and start practicing. Your future self (wrapped in a warm, handmade blanket) will thank you! 😊
Ready to learn how to put this into action? Read Step-by-Step: Making A Crochet Blanket With Blocks
Did you find this tutorial easy to follow? Let me know if the comments below.

5 thoughts on “How to Crochet a Blanket for Absolute Beginners”
How long does it take to crochet this blanket?
It depends on how you decide to crochet the blanket. The block by block method, as shown in Step-by-Step: Making A Crochet Blanket With Blocks, here is the link: https://shareyourcrochet.com/step-by-step-making-a-crochet-blanket-with-blocks/ can take as little as a few weeks. There are several factors that determine how long it takes to crochet a blanket. For a block by block blanket, factors include how many blocks you intend to use, the overall size of the blanket, how much time you spend crocheting each day, and the type of border you choose. The blankets I have shared on this site have taken anywhere from a few weeks to several months. Some took longer because I did not spend as much time crocheting as I did on the others.
Comments are closed.